Model configs
To access and create model config navigate to AI > Model.
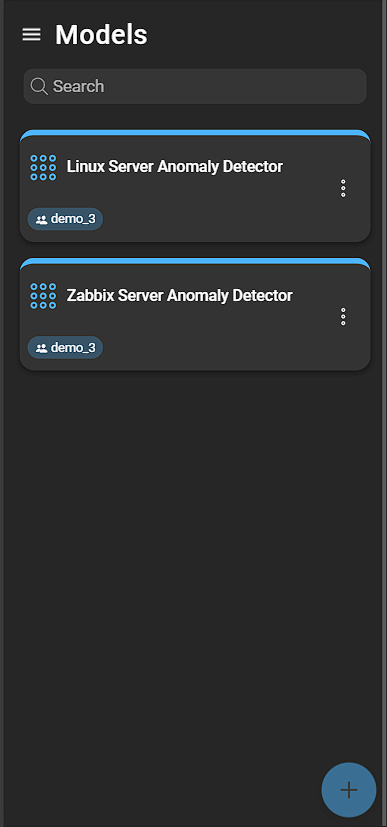
Create model config
To create a model config, click the Blue plus button. This will open a form:

- Name: Provide a name for the model config.
- Dataset config: Select a dataset config you have created to access a dataset.
- Dataset: Select a dataset of the previously provided dataset config.
- AI Trainer: Select a microservice as AI trainer.
- Architecture*: Select between two available architectures: LSTM Autoencoder and GRU Autoencoder.
Architecture*: To learn more about the LSTM or GRU Autoencoder, we recommend consulting TensorFlow.
Click Create to continue.
Configure model config
To access the config of a model, just click on an entry in the list. The model config consists of many options:
General
This section covers the general options you can configure for your AI model:
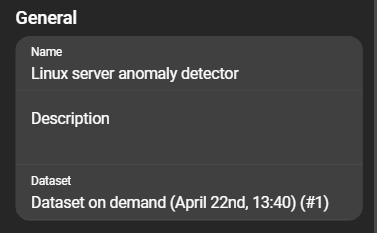
- Name: The name of your model config.
- Description: The description of your model config.
- Dataset: The current dataset on which the model is trained. If you click on it, you can select another dataset available in the selected dataset configuration.
Architecture
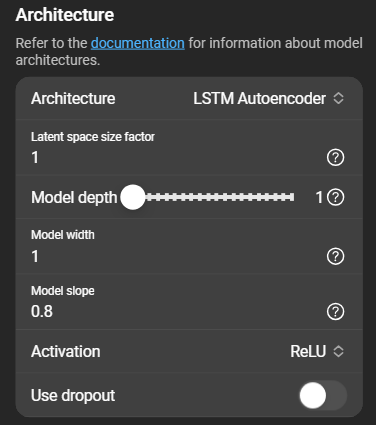
- Architecture Selected during creation can be changed here and the latent space size factor can be set.
- Latent space size factor The latent space size factor is multiplied with the number of features, to determine the size of the latent space.
- Model depth: Select the number of layers of the encoder and decoder.
- Model width: Model width is multiplied with the number of features to determine the base number of neurons in an encoder and decoder.
- Model slope: Factor between
0and1that determines how steep the encoder and decoder layers approach the latent space. - Activation: Select between to options: ReLU or Sigmoid .
- Use dropout: Only used during training. When activated, a layer is used that randomly deactivates connections between the neurons.
Training
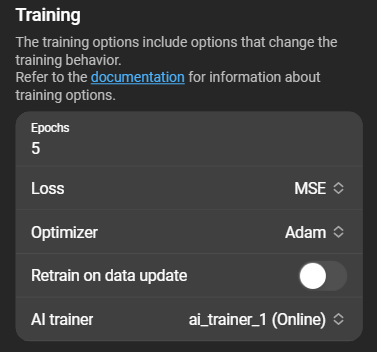
- Epochs: Set the number of epochs to train for.
- Loss*: Select a function to evaluate model performance.
- Optimizer: Select the optimization algorithm: SGD (Stochastic gradient decent) or Adam
- Retrain on data update: A toggle to enable or disable if the model is to be retrained when a new data set is extracted.
- AI trainer: The currently selected AI trainer.
Loss*: DataForge supports several different functions to determine the loss. To learn more about the different functions, we recommend consulting TensorFlow.
Preprocessing
The hyper-parameters for the model can be adjusted in the options:
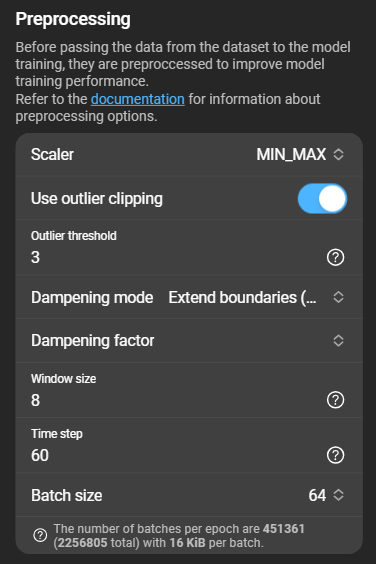
- Scaler: Currently only the MIN_MAX algorithm is supported.
- Use outlier clipping: A toggle which, when activated, allows extreme values to be clipped.
- Outlier threshold: If outlier clipping is activated, this field can be used to set how much values should be clipped. Smaller values mean higher clipping and should not fall below
1. The recommended value is3. - Dampening mode: Select one of three modes.
Use training boundaries (No Dampening),Extended boundaries (Dampening),Always Clip (Infinite Dampening) - Dampening factor: Only available if the dampening mode is set to
Extended boundaries (Dampening) - Window size: Set the window size (number of time steps that should be considered for one model step).
- Time step: Set the time interval (in seconds) between rotations of the sliding window. This must be less than or equal to the smallest interval of an item in the dataset, otherwise data will be lost.
- Batch size: The number of batches is based on the batch size, time step and the duration of the used dataset.
Storage options
The storage options can be used to organize your models. You can determine an amount of days and/or hours how long an individual model is saved. If a dataset is older than the given time, it will be deleted.
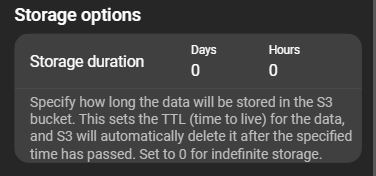
The default setting Days: 0, Hours: 0 allows you to keep your datasets indefinitely.
Models
In this section you can generate and view actual models:

Create model
Once you have completed the configuration, you can click Train now to create a model. This model will then show up in the list. You can further inspect it by clicking on the model.
Model details
The status of the model and the name of the model are shown at the top of the page. The model can have two states: Training completed and Training incomplete.
As long as the model is being trained, only the some information is visible. As soon as the model has the status Training completed, a range of additional information is displayed.
Model configuration
This section shows all configurations with which the model was trained. In essence, it is a summary of the dataset and the model config at the time the model was trained.
Model tests
Once a model is fully trained, you have the option to test your model. This is a convenience feature, instead of waiting a certain amount of time you can test your model immediately on previously extracted datasets and evaluate the loss.
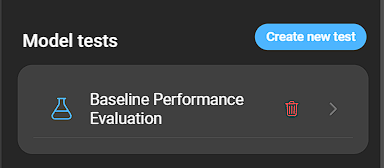
To do so click Create new test. This will open a modal:
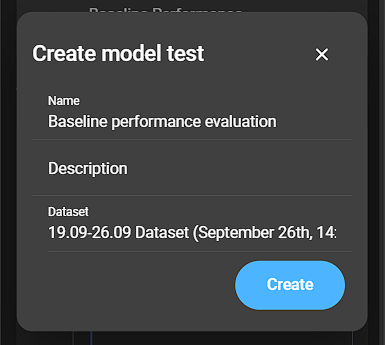
- Name: Enter a name of your model test.
- Description: Set a description for your model test.
- Dataset: Select a dataset for your model test.
Click Create to finish the process.
After the test has been created, DataForge applies it to the specified dataset. The results can be viewed in the test details. You can access these details by clicking on a created test.
Model test details
This page consists of a status about the test, the name of the test and three distinct section: General, Evaluation loss and a job log.
The status of the test can be in one of two states: Test completed and Currently training.
General
Displays the dataset the model was tested with:
Training loss
Gives an overview of how accurate the model processes the data. For the four loss functions that we support, the following generally applies: the smaller the value, the more accurately the model was able to reconstruct the data.
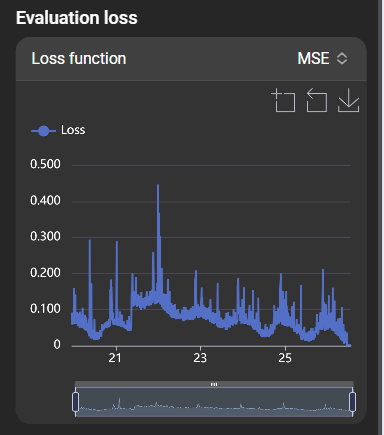
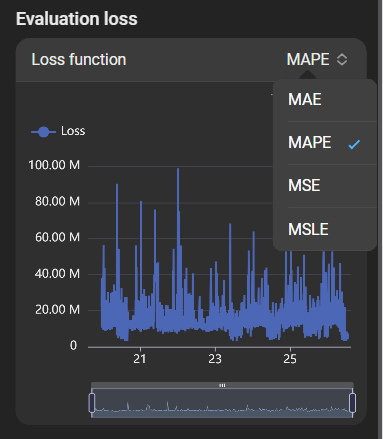
The loss function can be selected in the top right to see how it affects the evaluation:
Job log
A completion bar is displayed at the top, showing how far the testing has been completed. The job log itself shows each individual step that is carried out to test the model. Each of these steps can be viewed in more detail by expanding the card.
- Processing time: How long the step took to complete.
- Date and Time: Indicates when each step was processed.
- Type: Specifies the type of event.
- Event: The name of the event.
- Microservice: The name of the microservice responsible for the event.
- Full event: Shows the full event stack trace.
Training loss
Shows how the model behaved during training in relation to the loss. The x-axis indicates the number of batches the model has trained on so far.
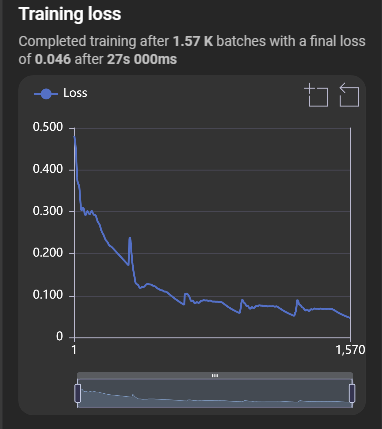
By hovering over a datapoint you will get additional information about the specific datapoint.
The graph offers many options for taking a closer look at the data shown. Three functions can be accessed in the top right-hand corner. From left to right, these are: data zoom, reset data zoom and save as image. When data zoom is active, an area in the graph can be selected to zoom in. If you want to reset the zoom, use the reset data zoom button. The bar below the graph is also a data zoom with which a start and end value can be marked.
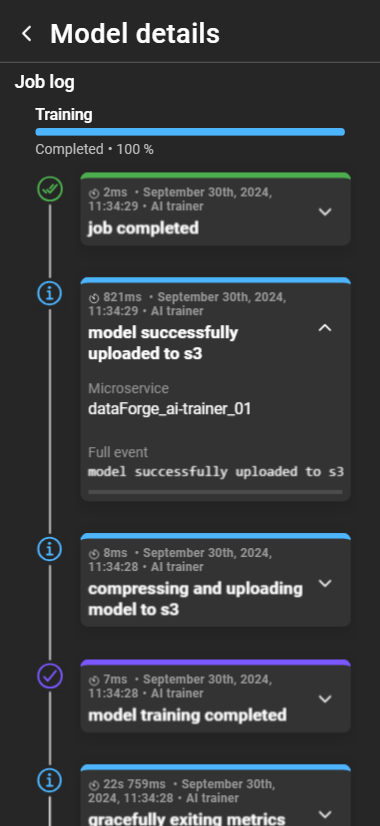
Job log
A completion bar is displayed at the top, showing how far the training has been completed. The job log itself shows each individual step that is carried out to create the model. Each of these steps can be viewed in more detail by expanding the card.
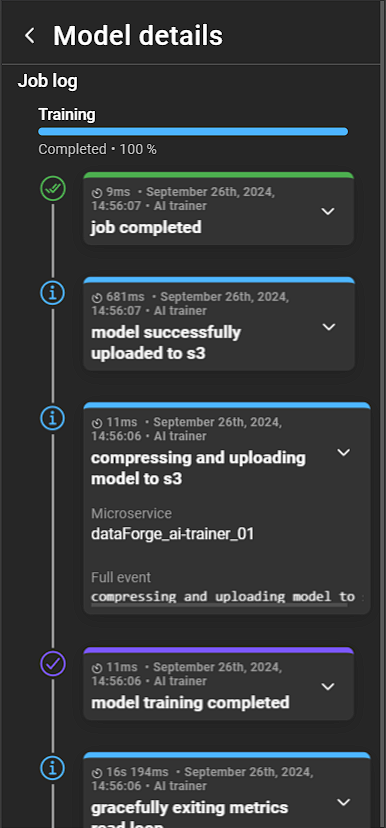
- Processing time: How long the step took to complete.
- Date and Time: Indicates when each step was processed.
- Type: Specifies the type of event.
- Event: The name of the event.
- Microservice: The name of the microservice responsible for the event.
- Full event: Shows the full event stack trace.
Delete a model
You can delete a model by clicking the bin icon.