Zabbix server setup
The Zabbix server must be affiliated with a specific company and accompanied by a root user. This root user is essential for administrative tasks, such as creating service users and Zabbix user groups on the associated server.
Listing Zabbix servers
The Zabbix server page displays a list of all integrated servers:
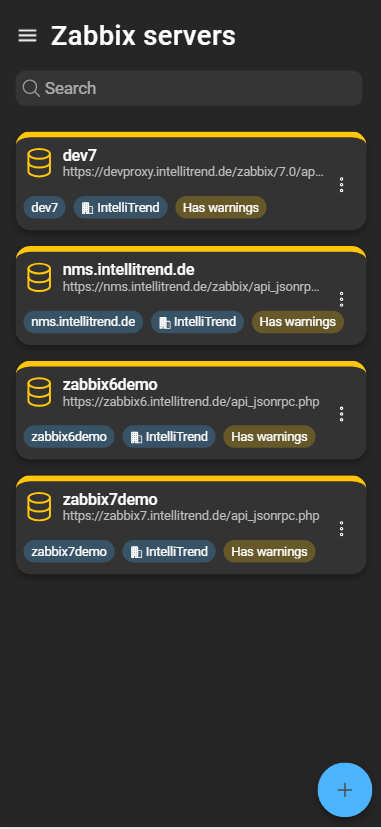
Each added server is represented by a card and includes:
- Server name.
- Server identifier.
- Company the server is assigned to.
- Synchronization warnings.
- Context menu.
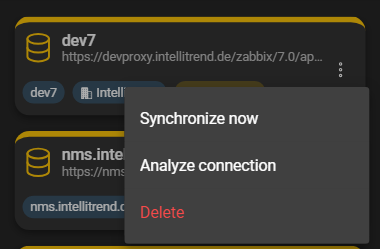
- Synchronize now: Manually start synchronization. Usually unnecessary, as DataForge synchronizes automatically.
- Analyze connection: Explained later in this chapter.
- Delete: Removes the server from DataForge.
Adding Zabbix servers to DataForge
Adding a server requires the necessary permissions. Navigate to Administration > Zabbix servers and click the blue plus to open the general section of the wizard:

- Company: Company the server belongs to.
- Name: Name of the Zabbix server.
- Description: Optional description.
- Identifier: Used as the
Zabbix server identifierwhen adding a DataForge user account.
Click Continue to open the Connection section:
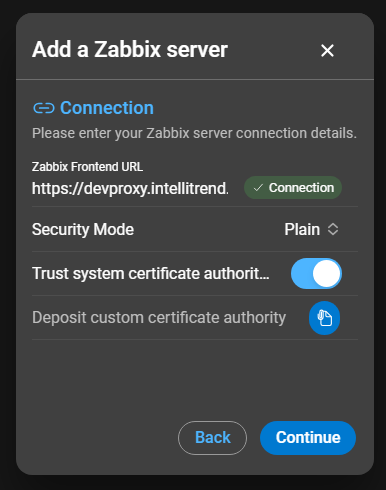
- Zabbix Frontend URL: Complete URL of the Zabbix frontend API endpoint.
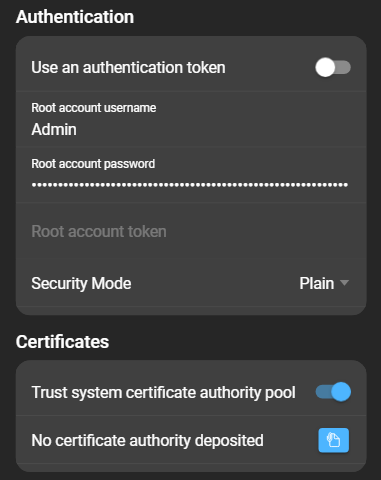
- Security Mode: Select between
Plain,Basic Auth, andAPI Guard. - Trust system certificate authority pool: Toggle to trust the system CA pool.
- Deposit certificate authority: If the CA pool is not trusted, upload the CA certificate.
The API Guard is free software from IntelliTrend that acts as an API reverse-proxy/gateway for a Zabbix frontend. It provides public access to the Zabbix API without exposing the entire frontend.
Click Continue to proceed to Authentication:
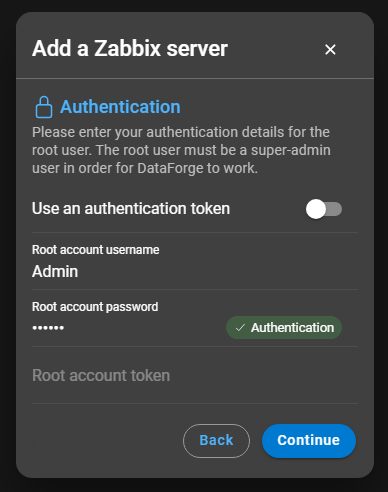
- Use an authentication token: Toggle to use a token instead of username and password.
- Root account username / password: Credentials of the root user.
- Root account token: Token if token-based authentication is selected.
Click Continue to configure S3 object storage:
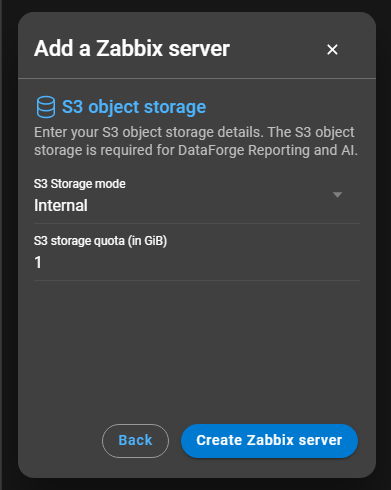
Click Create Zabbix server to finish. The server appears in the list.
Configuring Zabbix servers
The configuration is accessed by clicking the settings icon of a server. It is split into sections:
1. Warnings and general
Includes configuration specified during creation. The company cannot be changed.
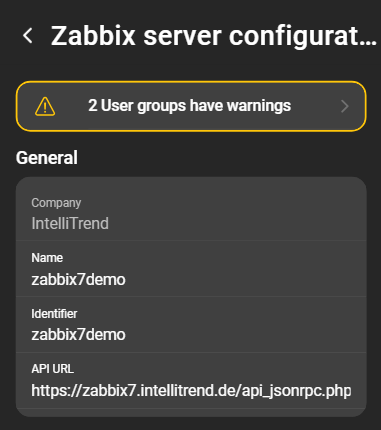
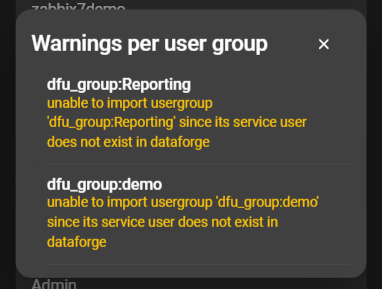
Warnings regarding user groups are displayed first. Clicking the box opens a dialog with an overview of all warnings:
2. S3 object storage
The S3 object storage stores generated reports, AI datasets, models, and tests.
Available modes:
Internal
Uses the instance-provided S3 storage. Storage size must be allocated in GiB. Allocation is deducted from the company quota.
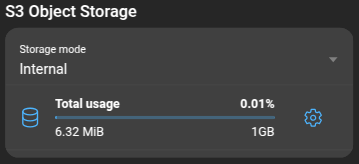
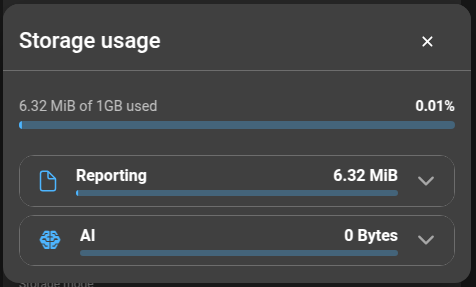
Clicking Total usage opens a dialog with storage usage details:
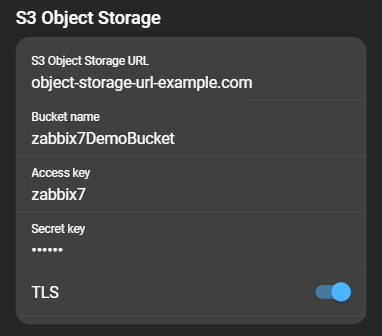
External
Uses external S3 storage. Required fields:
- Object storage URL: URL of the storage.
- Bucket name: Target bucket.
- Access key: Access key for authentication.
- Secret key: Secret key for authentication.
- Require TLS: Toggle to require TLS.
Disabled
Disables S3 storage for this server. Reporting and AI are disabled.
3. AI server
Register and manage AI servers used for AI.
Click Register a new AI server to open the form:
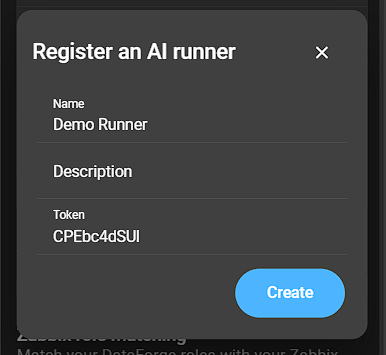
- Name: AI server name.
- Description: Description of the AI server.
- Token: Token used to register the server. Must be provided in the server configuration file.
Click Create to register. The server appears in the list:
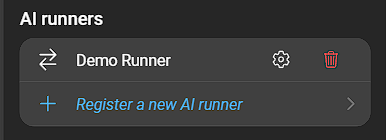
- Configuration: Click the cogwheel icon to edit.
- Remove: Click the bin icon to delete.
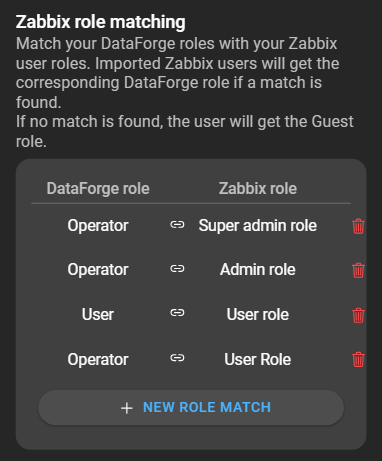
4. Zabbix role matching
Defines how user roles are assigned when importing Zabbix users. More details in Role matching.
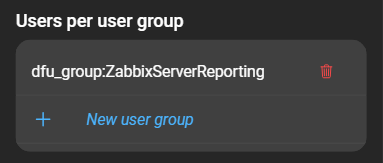
5. Users per user group
Displays user groups on the server. Groups are required for Reporting. More in DataForge user groups.
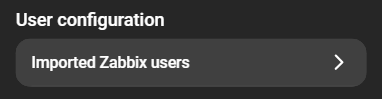
6. User configuration
Manage imported users or impersonate them in the Imported Zabbix users section.
- More about Importing Zabbix users.
- More about Impersonating.
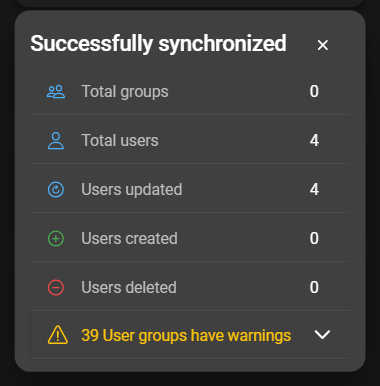
Synchronizing now
Manual synchronization can be triggered via the context menu by clicking Synchronize now. This ensures DataForge uses the latest data.
After synchronization, results include the number of updated entities and any warnings or errors. The warnings and errors section can be expanded and is also accessible in server details.
Verifying the connection and credentials
To verify the connection, open the context menu and select Analyze connection. The results are displayed:
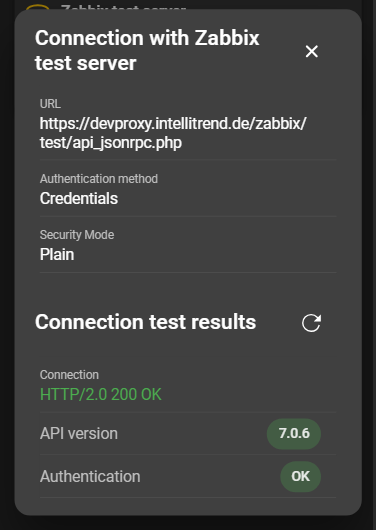
Possible outcomes:
- Connection chip shows
ERROR(red): No connection can be established, likely due to an incorrect URL. - API version chip shows
ERROR(red): Connection established, but endpoint is not a Zabbix API. - Authentication chip shows
ERROR(red): API reachable, but root user credentials are incorrect. - All chips green: Connection and authentication successful.