Getting started
This section outlines the setup of DataForge, including user management, Zabbix integration, and customization.
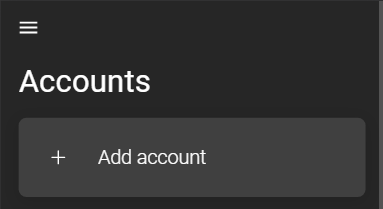
1. Adding an account
To log in to DataForge an account must be added:
The differences between the IntelliTrend Mobile app for Zabbix and the web app are described in the chapter Account.
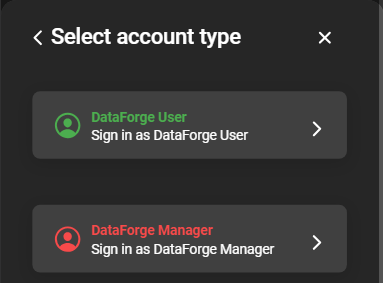
Choose whether to log in as a DataForge user or as a DataForge manager. A DataForge manager is a user that does not originate from a Zabbix server but is created within DataForge. Managers are used for administrative tasks such as creating companies, adding Zabbix servers to DataForge, managing and creating roles, media types, and DataForge users.
Select DataForge Manager:
The login form for a DataForge manager requires the address of the DataForge server and user credentials:
If using DataForge Cloud, username and password are provided.
If using DataForge Self-Hosted, credentials of the default account or any other created account can be used. Refer to the install guide for details.
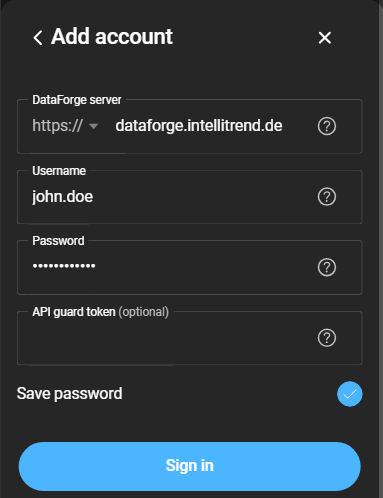
- DataForge Server: URL of the DataForge Server without
https://orhttp://. The prefix is selected via dropdown. - Username: Designated username.
- Password: Designated password.
- API guard token: If using the IntelliTrend API Guard, a token can be provided to add an extra layer of security.
2. Adding a Zabbix server
Adding a Zabbix server enables DataForge to access monitored data. Navigate to Zabbix servers and click the blue plus icon to open a form.
General
The first page of the form asks for general information about the Zabbix server:
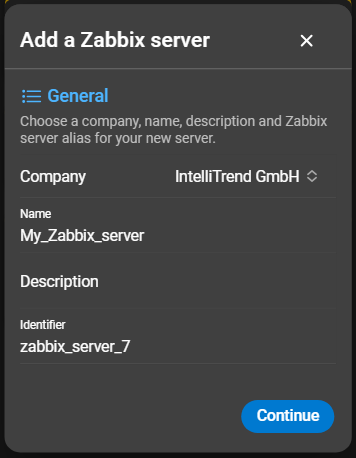
The identifier will later be used to create user accounts. Click Continue to proceed to the next page.
Connection
On this page, enter the connection details of the Zabbix server:
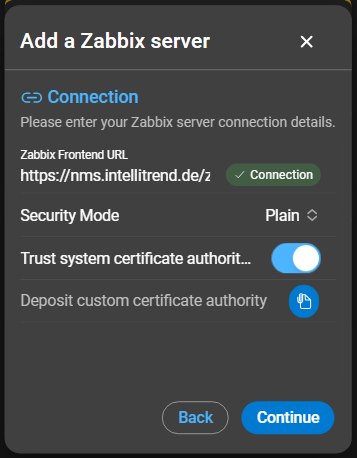
Upon entering the Zabbix frontend URL, a green badge indicates whether a connection can be established successfully. Select a security mode (Plain, Basic Auth, or API Guard*) and click Continue to proceed.
Free software from IntelliTrend offering an extra layer of security. It acts as an API reverse-proxy/gateway for a Zabbix frontend, allowing public API access without exposing the full web frontend.
To learn more about or get the IntelliTrend API Guard, check out the following pages:
Authentication
Select an authentication method for the root account. Any Zabbix user with the Super admin role can serve as root account. DataForge uses this account for administrative tasks. Choose whether to specify the root user’s password or use an API token.
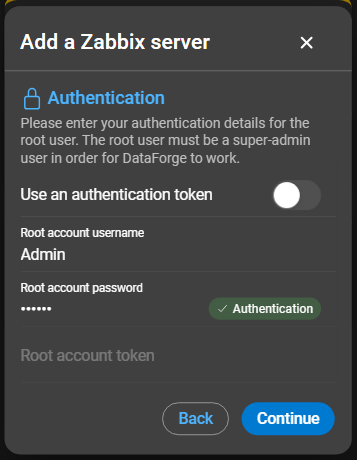
A green badge indicates successful authentication. Click Continue to proceed.
S3 object storage
S3 object storage is required for DataForge Reporting and AI. If none of these features are used, the storage mode can be set to Disabled. Otherwise it needs to stay set to Internal with a default quota of one GiB (adjustable at any time).
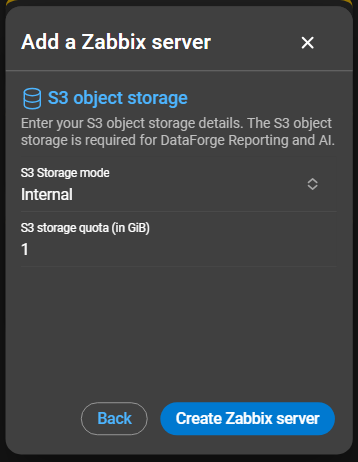
Click Create Zabbix server to finish. More details can be found in the chapter Zabbix server setup.
3. Importing users
Zabbix users imported into DataForge are called DataForge users and are required to access DataForge in user mode. Features of the user mode are described in the user manual.
To import users, navigate to the newly added Zabbix server and open its configuration page. Scroll to User configuration and click Imported Zabbix users:

This opens the Zabbix users page listing all imported users. Clicking the cogwheel icon in the bottom right corner opens the import wizard:
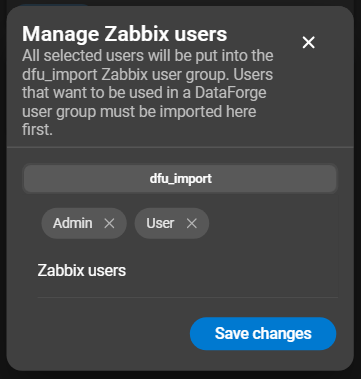
When clicking the Zabbix user field, all users available on the Zabbix server are listed. Select the users to import, end the selection with Done and finish with Save changes. If the dfu_import user group does not exist yet, it is created automatically and the selected users are added.
Further details can be found in the chapter Importing Zabbix users.
4. Assigning user groups
A DataForge user group is a prerequisite for using Reporting and AI. Members of a user group share the permissions of the group’s service user. Actions performed by group members are executed by the service user, and thus the service user’s permissions determine the accessible Zabbix data.
Managing user groups
To add imported users to a group, open the configuration of the Zabbix server and scroll to DataForge user groups:
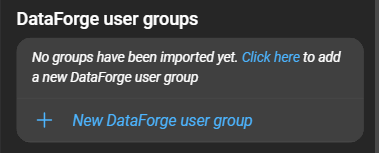
Clicking New DataForge user group opens a form:
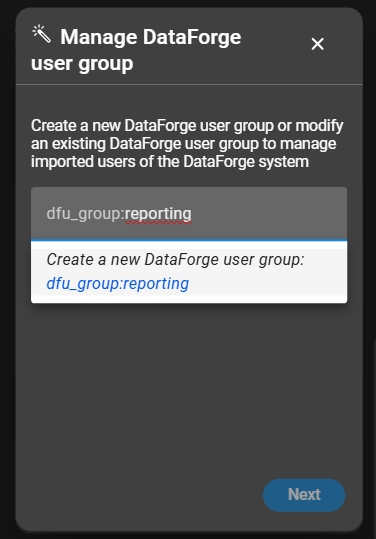
When entering a name, the prefix _dfu_group__ is added automatically. Click Create new DataForge user group: dfu_group:Your_group and then on Next, to open the Create service user page.
Creating service users
Service users are responsible for consistent permissions of DataForge user groups. Actions performed by members of a group are executed on behalf of the group’s service user. Permissions of a user group are therefore determined by the permissions of the service user.
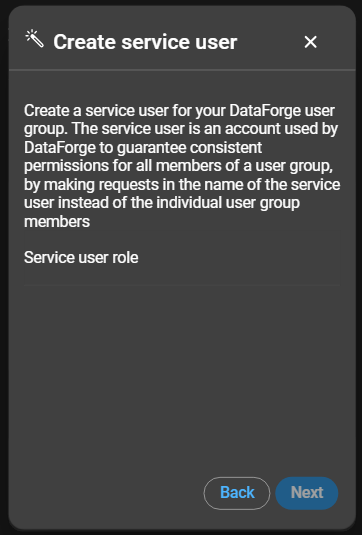
Select an appropriate role for the service user and continue with Next.
Depending on the role, some functions may not be available. For example, the Audit-log widget requires a Super Admin role.
Managing group members
After selecting a role for the service user, imported Zabbix users can be added to the group.
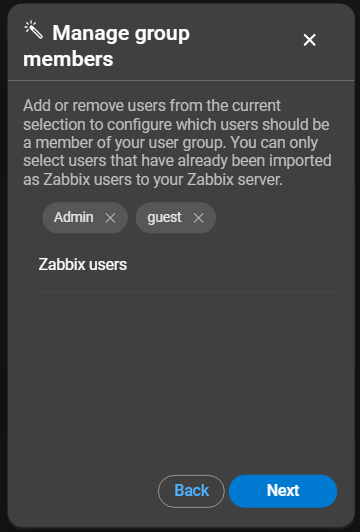
After selecting the users to add to the group, click Next to continue.
Verifying the user group
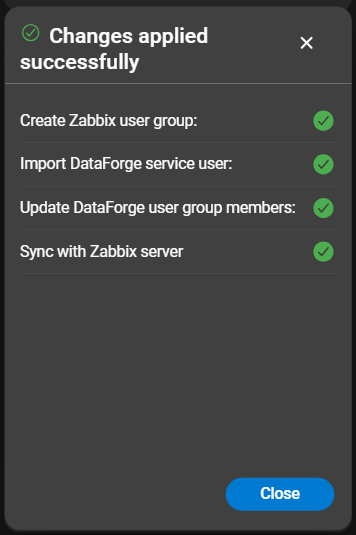
The last page of the wizard provides an overview of all configurations and the changes that will be applied to the Zabbix server on confirmation. Clicking Apply changes executes these changes and completes the process. Success is indicated by green checkmarks for each configuration step:
For further details and troubleshooting, refer to the chapter User group wizard.
Start using DataForge user features
After integration of a Zabbix server into DataForge, features like Self Provisioning, Reporting, and AI are available to DataForge users.
For details on getting started as a DataForge user, refer to the DataForge User manual.