DataForge user groups
A DataForge user can be added to a DataForge user group either with the wizard or by assigning them manually through the Zabbix server. Each group member is also assigned a DataForge user role, which specifies permissions within DataForge (for example, creating reports). DataForge managers configure both DataForge user groups and user roles.
DataForge user groups are managed per Zabbix server. Navigate to Zabbix servers and select a server to create or modify groups. There is no hard limit to the number of groups per server.
Using the user group wizard
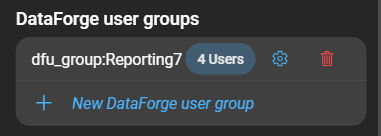
Navigate to Zabbix servers and select a server. Scroll to the DataForge user groups section.
The wizard can:
- Create new user groups and service users as needed.
- Modify group members and update a service user’s authentication.
- Import existing user groups from a Zabbix server.
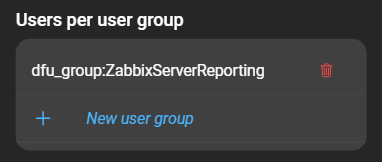
DataForge users can be included in a group only if they have already been imported. To open the wizard, click New user group:
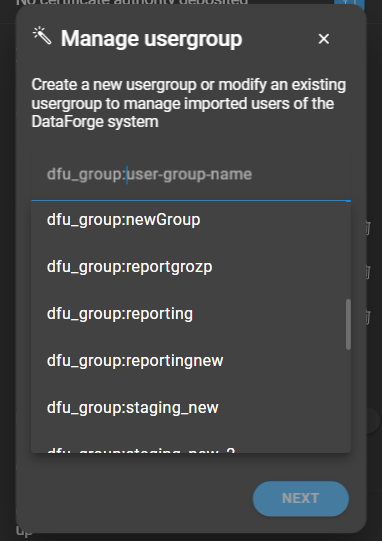
At this point, two options are available:
- Create a new user group: Provide a name. The required prefix
dfu_group:is added automatically. The same base name is used for the service user. - Import an existing user group: Select a group from the list to import it.
Click Next to continue. The next steps differ depending on whether a new group is created or an existing one is imported:
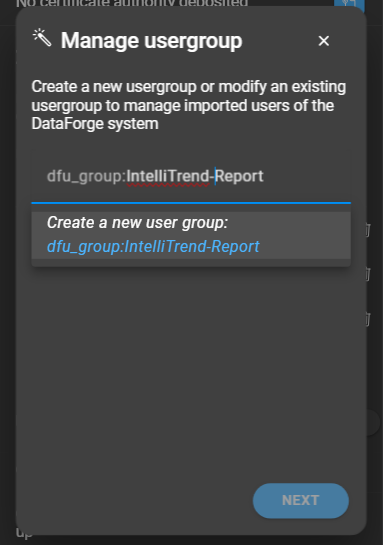
Creating a new user group
After providing a name, select Create a new user group: dfu_group:YOUR_USER_GROUP_NAME from the dropdown and click Next.
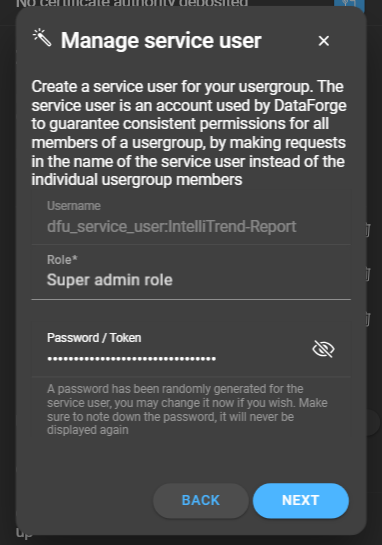
A service user is created with the same base name as the group (prefixes excluded). Assign this service user a role from available Zabbix user roles . A password is generated automatically, or it can be set manually. Note the password, as it is not displayed after creation. Click Next.
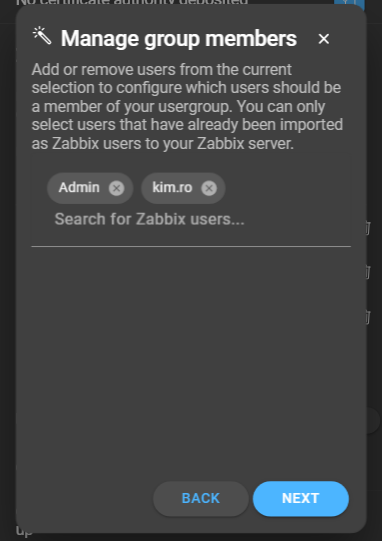
Select imported users as members of the new group. At least one user is required. No upper limit applies. Click Next.
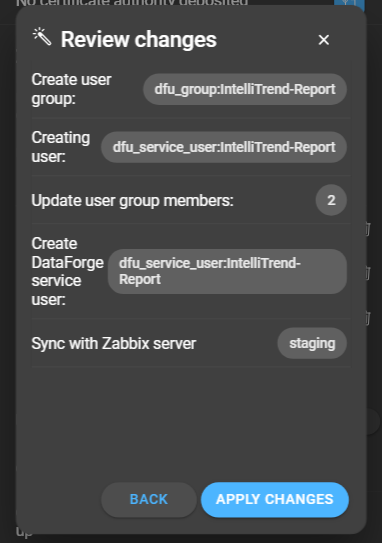
A summary lists all pending changes:
- Create user group: Name of the user group to be created.
- Creating user: Name of the service user created on the Zabbix server.
- Update group members: Number of imported users added.
- Create DataForge service user: Name of the service user created in DataForge.
- Sync with Zabbix server: Target server.
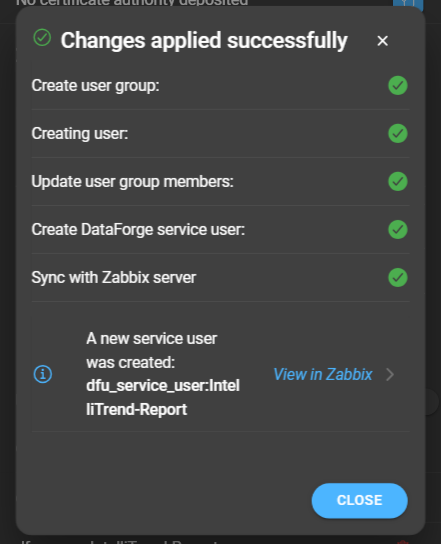
Click Apply changes. Indicators next to each step show success (green checkmark) or failure (red x). Errors include detailed messages.
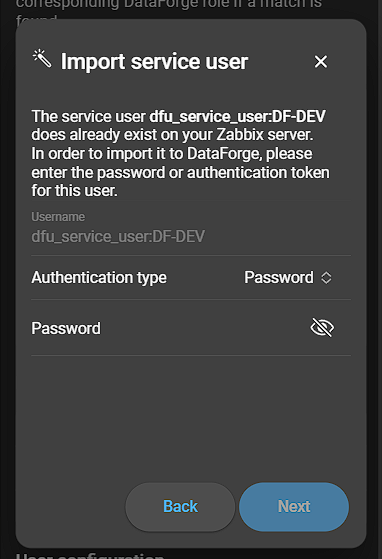
Importing an existing user group
Select an existing group and click Next.

Provide authentication for the service user: password or token. Click Next.
An overview of group members is displayed. Members can be added or removed before continuing. Click Next.
A summary of changes is then displayed. After applying changes, results are indicated as described earlier.
Modifying user groups
Click the settings icon on the group card to open the Manage user group dialog. Two tabs are available; managing Zabbix users is the default.
Managing Zabbix users
- Add users by selecting them in the multiselect box.
- Remove users by clicking the x on a chip or by deselecting them in the multiselect box.

Click Save to apply changes.
Managing service users
The service user cannot be modified directly in DataForge. A direct link to the service user in Zabbix is provided. After changing the password/token in Zabbix, update it in DataForge.
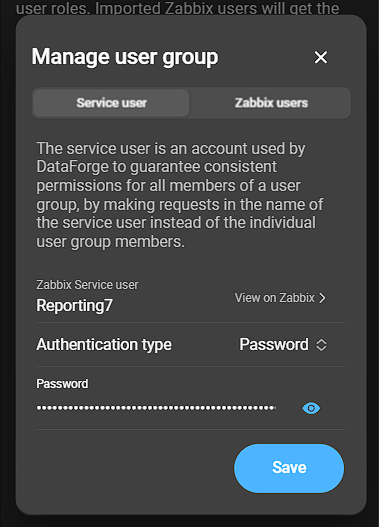
- Zabbix service user: Direct link to the user in Zabbix.
- Authentication type: Authentication method.
- Password: New password or token for DataForge.
Click Save to apply changes.
Adding users to groups manually
To create a DataForge user group manually, perform the following steps on the Zabbix server:
- Create a Zabbix user group.
- Create a Zabbix service user.
- Add the service user and the intended members to the group.
Changes become effective in DataForge only after a synchronization.
Deleting user groups
Delete a user group or service user by clicking the red delete icon next to the group. This opens a dialog.
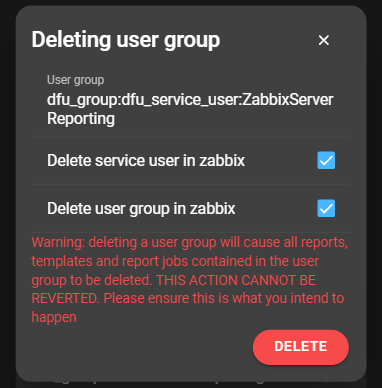
Deleting a group always removes it and the service user from DataForge. Two additional options affect Zabbix:
- Only the group is deleted on Zabbix: If a new group is created with the same base name as an existing service user, that service user is reused. Its password must be entered, and no new password is generated.
- Only the service user is deleted on Zabbix: The group still appears in the list but not in the “Users per user group” section. Selecting it creates a new service user, and a password must be set.
Synchronizing DataForge and Zabbix
For changes to appear in DataForge, synchronization between DataForge and the Zabbix server is required. This can be automatic or manual. Each server has a predefined synchronization interval or synchronizes on startup. The interval can be managed within the server configuration using the CLI key user-sync-schedule. Synchronization at startup can be triggered with the CLI key user-sync-on-start.
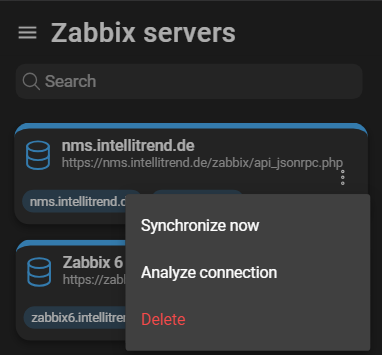
Manual synchronization
- Navigate to Administration > Zabbix servers.
- Open the server’s context menu.
- Click Synchronize now.